
Tasks are an easy and versatile way to stay on top of practice to-dos, collaborate across providers, and coordinate with patients (See also the new: Office Chat)
- Where to Create Tasks
- Creating Tasks
- Viewing and Completing Tasks
- Deleting Tasks
- Specialized Use Cases
- Reviewing Complete Tasks
Take a look at this quick video on tasks:
Where to Create Tasks
Tasks can be created and tied to a patient throughout the program
-
From the Tasks bar
- Click on Tasks in the top navigation bar to view all of your Tasks
- Click on Create New Task
- On the Patient Dashboard
-
! NOTE this section only shows you upcoming tasks that are Order Types that are due in the next week and/or overdue tasks
-
! NOTE this section only shows you upcoming tasks that are Order Types that are due in the next week and/or overdue tasks
- From a Chart Note under More Commands > Tasks button menu
- From the Actions menu
- From your Fax Inbox
-
Assign fax to patient
Create Task
-
Assign fax to patient
-
From patient Documents
Click on the three blue dots under the Actions column
Click Assign and select practitioner
This will automatically create a Document Review task for the practitioner
-
From Lab Results
- When looking at lab history, labs with results will allow you to add notes for the patient and also add internal notes. Clicking the Save Notes and Add Task button will prepopulate a task with Lab Order Follow-up as title and type and add the note as well in the note task section.
Creating Tasks
Tasks can be created and tied to a patient from throughout the program; when you create a new task:
-
Pick the patient you are assigning the Task to
! NOTE that if you need to create a general task that you do not want tied to a patient, we recommend adding using a Test Patient or creating an Office Staff fake patient to track all of those tasks centrally in one place
-
Add a title
If you leave title blank and assign a Task Type, it will automatically name the Task
Add a Task Type from the list of presets or leave blank
Set your Task Due Date
Leave the Status as Created
Add a Task Owner and optionally, Task Watchers who also see the task on their To-Do List
You can also
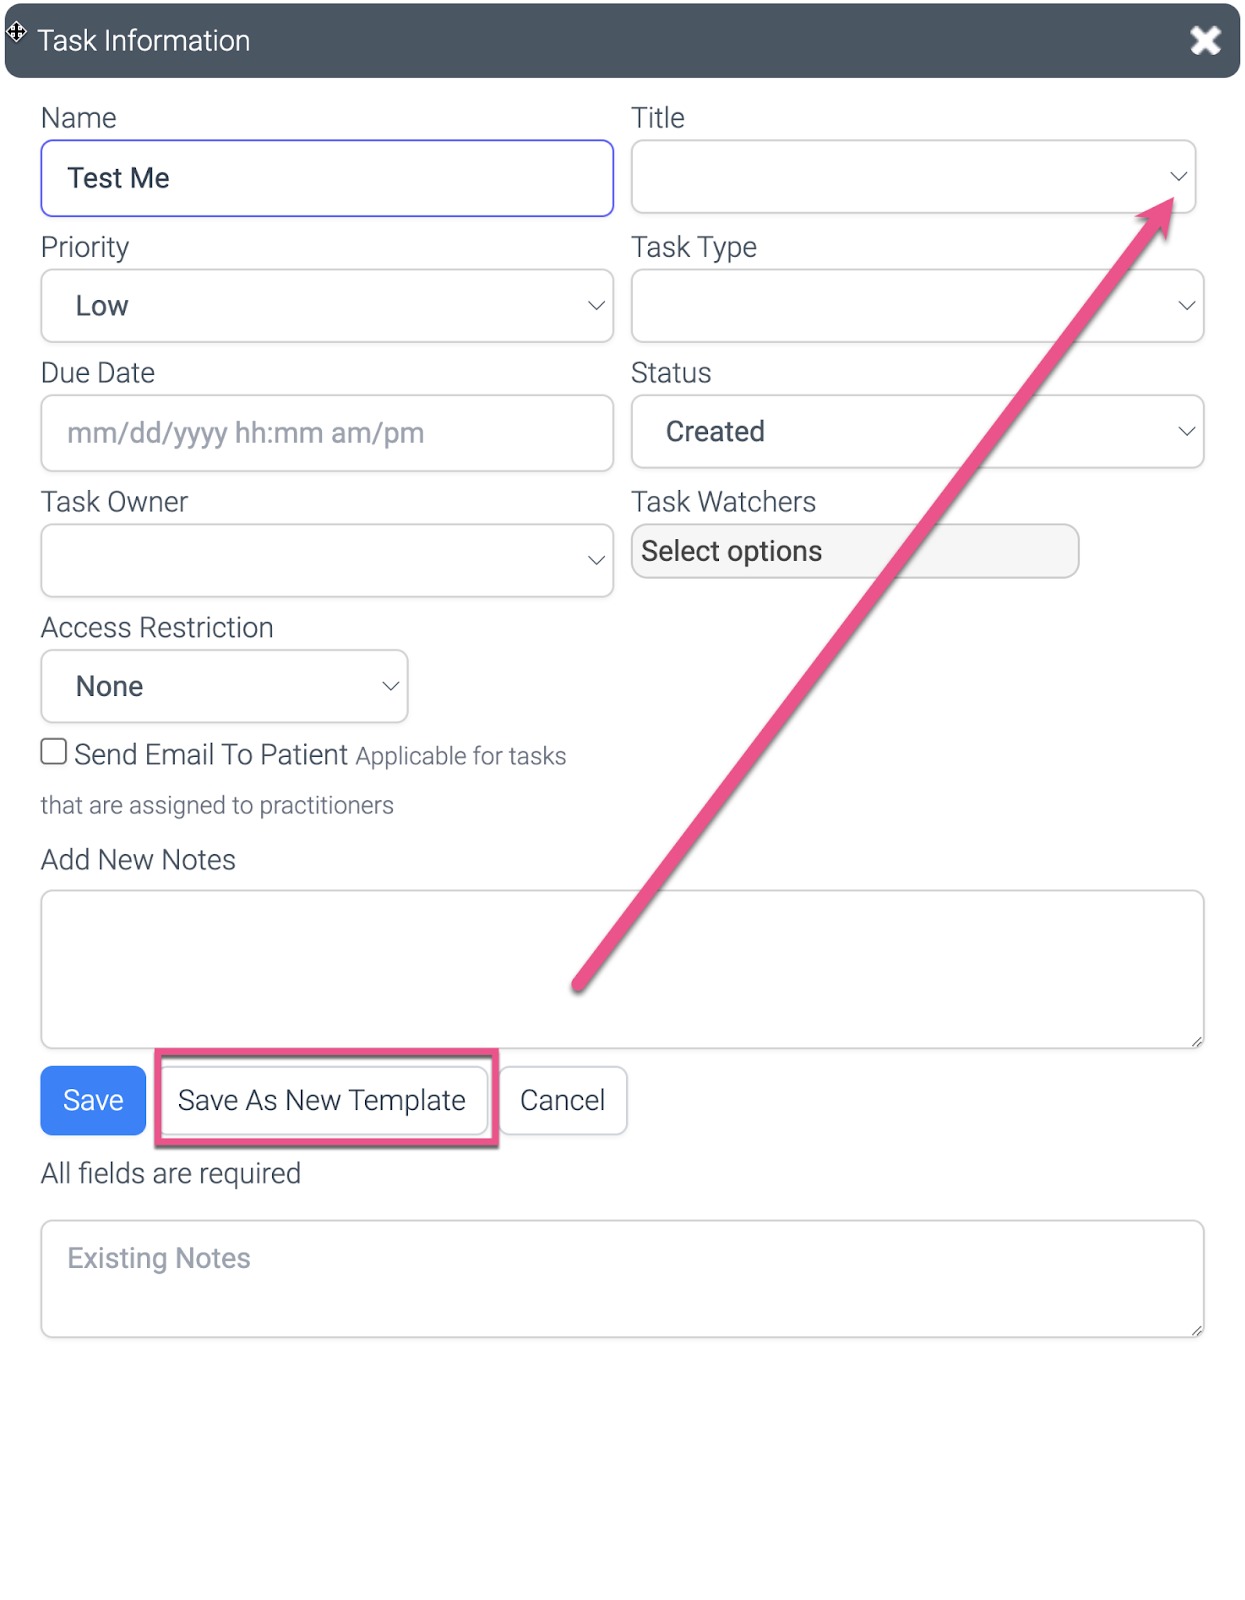
- Save Tasks as Templates for frequently used tasks
- Restrict Task Access for sensitive task items
-
Use Tasks for Patient-Facing Emails to alert patients to to-do items (great for things like lab and blood work or follow-up visit reminders!)
- Also, use Keywords in Patient-Facing Emails to personalize emails
- Add Notes to Tasks to track a running log of what has happened on each to-do item
Read on below for instructions on how to do each of these!
Saving Tasks as Templates for Frequently Used Tasks
You can save an existing task as a template
Next time select it from the drop down on the task title (saving you time and clicks for repetitive tasks)
 Deleting Task Templates
Click on the little "x" pop up next to a loaded template to delete it from the Template library
If you load a template, make changes but keep the same title, and click "Save template," it will overwrite your previously saved template
Restricting Task Access for Sensitive Items
Restrict Access so only a creator or assignee have the ability to update or edit a Task
This makes it so others in the practice will see the task in view mode only.
The assignee or the creator will be able to remove any access restriction
Using Tasks for Patient-Facing Communications
Click the Send Email to Patient option for practitioner tasks that also require patient communications to be sent out
-
Add the Email Template (created under Settings > Patient Communications > Email Templates) that you would like to send
Your selected email template will be sent to the patient on the morning that the task is due
To send an email, the task needs to be dated at least one day in the future and needs to have a practitioner listed as the task owner
-
Tasks must be created at least 2 days in advance for email automation to work as intended.
Automated emails from the tasks will differentiate between the email sent to patient vs practitioner (in the patient's email log)
If you update the due date of the task and it includes Patient-facing Communications, the program will resend the email in the future
Using Keywords in Patient-Facing Communication Emails
- Supported Keywords: DUE_DATE_PATIENT_TASK, NOTES_PATIENT_TASK and MESSAGE_PATIENT_TASK
-
These keywords will only operate in an email template being sent off of a task
DUE_DATE_PATIENT_TASK sources the due date of the task the email is selected to send off of
NOTES_PATIENT_TASK sources the notes including task updates and time stamps logged on the task the email is selected to send off of
MESSAGE_PATIENT_TASK sources the task title of the task the email is selected to send off of
Adding Notes
- This can include any other context you want to share (e.g., you may include details on an IV Order that's been put in, or mention that there are a few additional details to communicate during a Lab Follow-up call).
- Logs will be added in the Existing Notes section so you can see a running log of changes to the task including the user who made the change and a timestamp as you make changes to tasks or add new notes
Viewing and Completing Tasks
- Log into your OptiMantra account.
- On the top navigation bar, the bubble with a number indicator will be red or gray if you have tasks assigned to you. If it is pink, that indicates that there are tasks that are due today or overdue. The number will indicate the number of due or overdue tasks assigned to you. If the indicator is gray, the task is/are not yet due and the number is how many assigned tasks are upcoming.
-
Click on Tasks in the top navigation bar to view all of your assigned tasks, tasks assigned to others, and tasks that you are watching:
The options on the top-left allow you to filter the tasks that you are seeing.
- You can choose in the pulldown to see tasks that are due in the next 7, 30, or 90 days, or you can look at all tasks regardless of the due date.
- The check box will filter any tasks that are due now (or overdue)
- The radio buttons will determine if you want to see only your tasks, or all tasks regardless of who is assigned. You can also see tasks that you have been assigned as a watcher.
- You can also filter tasks by the task type
- Some tasks will have an action button in the title where you can quickly perform the task. For example, if you need to sign a document, you can click on the button to see the document and sign it.
- You can click on the Edit button to change the task items or mark this task as complete by clicking on the Complete button.
-
The status of the task will be indicated by pink indicators (due now or overdue) and green indicators (not yet due)
Specialized Use Cases
Tracking Future Labs with Tasks
- One common use case for Tasks is creating future reminders for patients and the practice that labs will be due in a few months.
- In those cases, you'll want to create a Task for the future date with an associated Lab Reminder email - this email can include instructions on how to get labs or a link to schedule a blood draw in the office
- Staff can update the task with reminder emails if the patient does not reschedule - or track calls to the patient as well
Co-signing Charts
Once a chart has been assigned to you for signature (see Co-signing chart notes article for how to get set up), you will have a Task assigned to you to review when you log into OptiMantra
Log into your OptiMantra account
Click on Tasks in the top navigation bar
You will see your Sign Chart task assigned to you
-
Click on View to review and then Co-Sign Chart
- You can click on Previous and Next to scroll through charts assigned to you
- You can clear your task from your list by clicking on Complete
! NOTE that if you need to edit the chart, you can click on Actions > Charting History and pull or edit the note
Reviewing Complete Tasks
Once tasks have been completed they will no longer show on the Tasks list from the top of the page. They do show under the individual patient's tasks list from the Patient Action Menu Here:
You can also review the patient completed tasks, or any recently updated tasks using the Analytics > List of Reports > Tasks Updated After Selected Date. You may need to update the date range to include when the task you are looking for was marked complete. Please review our Analytics Basics article here: Learn about Analytics (the basics).
FAQ:
Q: Can tasks automatically be created after appointments?
A: No, we do not automatically generate any tasks at this time.
Q: Are recurring tasks an options:
A: At this time, we would recommend using the same tasks and once completed, add notes and change the due date to the next expected completion time.
Q: Can you send texts or messages off tasks?
A: Not at this time but this is being worked on for the future